
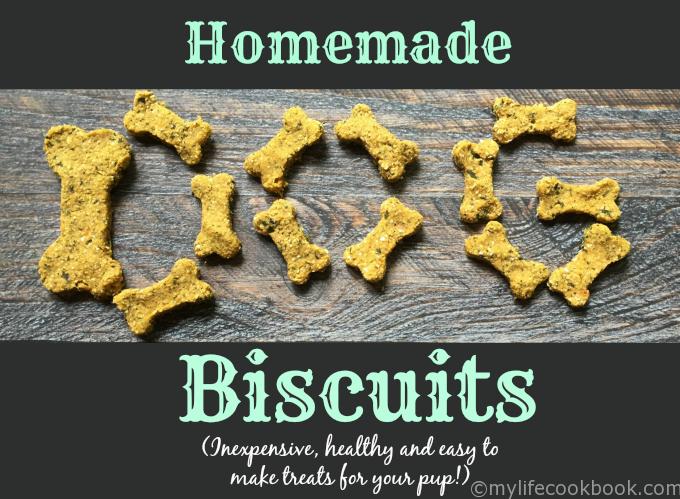
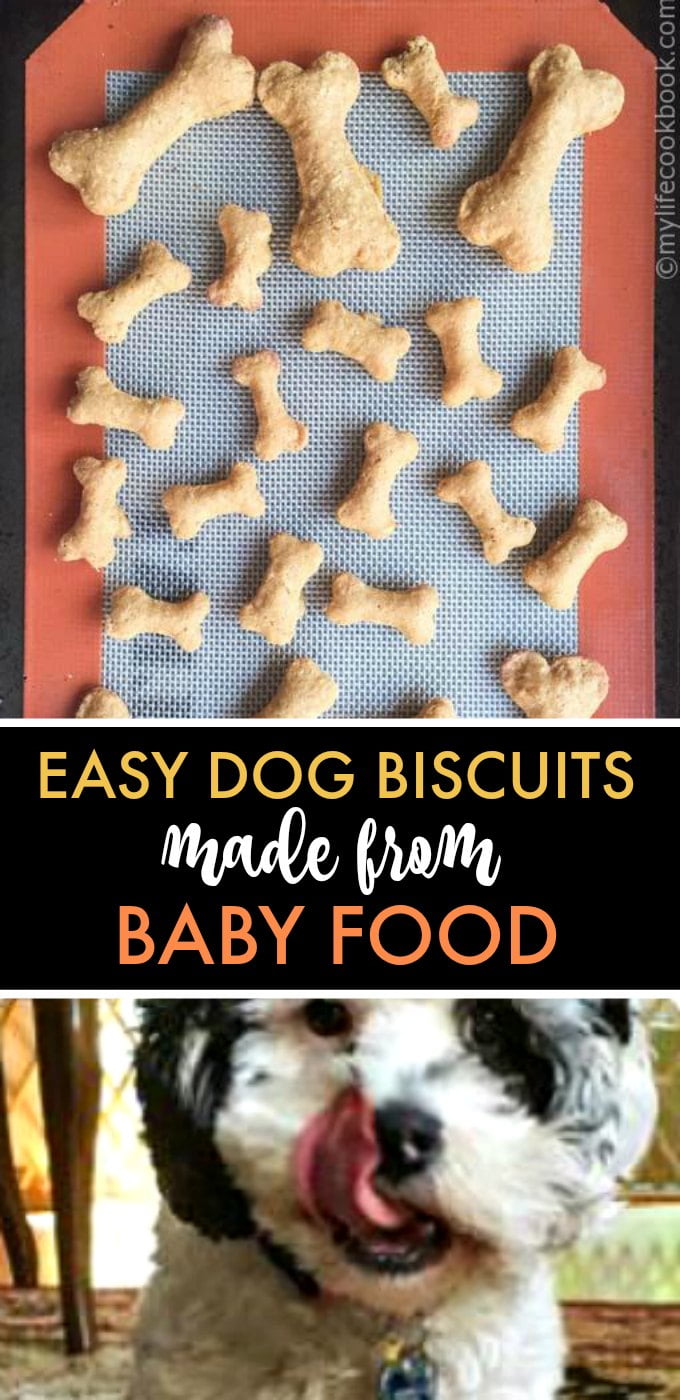
These easy dog biscuits are made entirely from baby food. This is an easy, economical and healthy way to treat your dog.
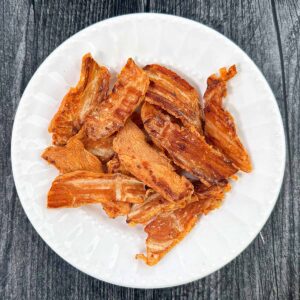
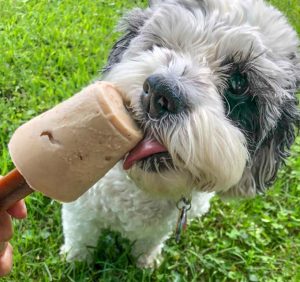
You might also like these natural homemade dog treats too!
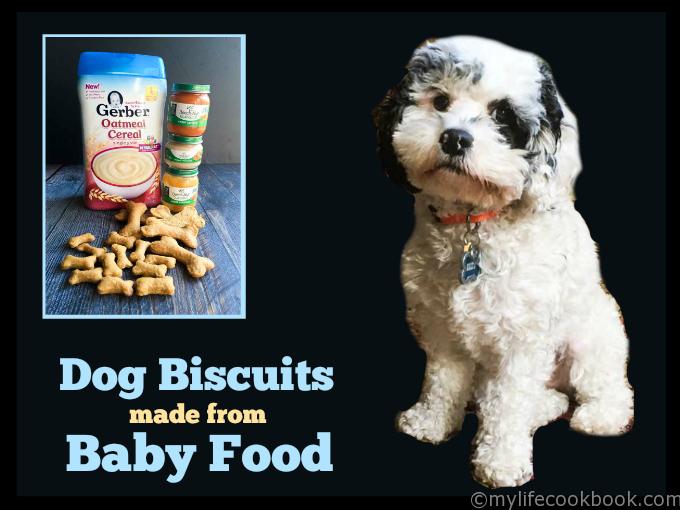
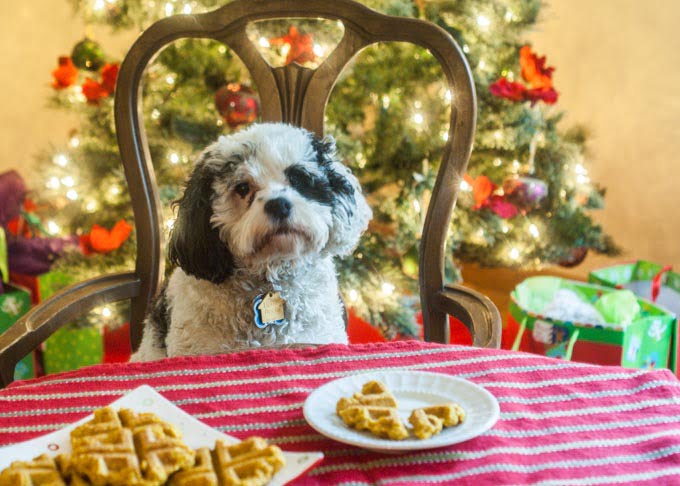
This is Izzy. She’s my little sweetheart. I put off getting a dog for so long, and now I can’t imagine life without her. None of us can. My whole family is smitten with her. Enough about Izzy, clearly this post is just a poor attempt to post pictures of her. 🙂
However I do like to make her healthy, wholesome treats. These easy dog biscuits were made just from baby food and they were so easy. I figured if baby food was good enough for a baby, it was good enough for my Iz.
Dog Biscuit Recipe Disclaimer
I am not an animal expert. Please check with your vet to see if what you are using is safe for your dog. Here is an article about what people foods are good for your dog. These foods are toxic and should never be given to your dog: chocolate, onions, grapes, raisins, yeast dough, artificial sweeteners, macadamia nuts, avocadoes, alcohol, or coffee.
Dog Biscuit Ingredients I Used
One of the reasons I used baby food was because we had some leftover oatmeal cereal like this from when my granddaughter visited last. I thought oatmeal cereal would essentially act as oat flour and by adding some chicken, sweet potatoes and carrot baby food, you almost have a complete meal!

Essentially all you do is mix the jar food with the oatmeal and make a stick dough. Then you roll it out on a silicone mat by taking a greased piece of wax paper and placing it on top of the dough. Then using a rolling pin, roll on top of the wax paper so the dough doesn’t stick to the rolling pin.
You want to roll it to about ¼ inch thick. Then use cookie cutters to make the biscuits. I got these from Amazon and love them!
Dog Biscuit Recipe In A Nutshell
- Mix jar baby food and baby oatmeal to make a sticky dough.
- Roll it out on a piece of parchment paper or silicone mat. You will need a piece of grease wax paper to place on top before rolling.
- Using a rolling pin over the wax paper to roll the dough about ¼ inch thick.
- Use cookie cutters to make biscuits.
- Bake for 20 minutes or desired chewiness or crunchiness.

Bake them on another silicone mat (you can use parchment paper too) until they are nice and brown. I didn’t make mine too crunchy. You can always cook them longer to make them crunchier. Sometimes I turn off the oven and keep them in there as the oven cools down and they continue to bake. Just make sure to watch them so they don’t burn.

I tried to get some good pics of Izzy eating them but it was hard to hold the camera and the biscuit at the same time. So I cut off her head when she was licking her lips but she really likes them.
Unfortunately, I’m writing this post much later than when I made them, and now they are all gone. Time to make another batch. I store them in the refrigerator and they last a long time.

I hope you like this little dog biscuit recipe for man’s best friend. It was fun making them for my little, sweet puppy. I hope your pup likes them as much as Izzy did.
And if you would like some more dog treats I have a few for your reading pleasure.
More Easy Dog Treats To Try!


Easy Dog Biscuits Using Baby Food
These easy dog biscuits are made entirely from baby food. This is an easy, economical and healthy way to treat your dog.
Ingredients
- 1 jar of carrots baby food
- 1 jar of sweet potatoes baby food
- 2 jars of chicken (~2.5oz each)
- 2 ½ cups of oatmeal baby cereal I used Gerbers Oatmeal Cereal for babies
Instructions
-
Preheat oven to 350 degrees
-
In a large bowl, mix all ingredients well until it forms a sticky dough.
-
Line a cookie sheet with a piece of parchment paper or a silicone mat.
-
Spread your dough onto the sheet and use a piece of wax paper that has been sprayed with cooking spray to press down your dough. You can also use a rolling pin to get it nice and smooth.
-
Use cookie cutters to make shapes.
-
Place cookie sheet into the oven and cook for 20 minutes. If you desire crunchier biscuits, Turn off the oven and let them cook some more and keep checking.
-
Store in the refrigerator.


Peggy Allen says
These sound yummy! Just remember that you should be careful with what you put in the homemade treats. Some baby foods contain onion or garlic which is a no no. Also if yogurt or peanut butter is used make sure there are no artificial sweeteners, no xylitol… all natural. I don’t know if these particular baby foods have onion or garlic in but I’m going to check it out because I want to try this for my dog. Sounds so simple!
Denise says
Yes this is definitely right. I just picked single item baby food, like sweet potatoes and chicken. That’s all there is in the baby food. But you have to read labels so thanks for point this out!
Peggy says
I really like this idea & wish I had thought of it…lol…my baby girl ( Bella ) is getting so fussy as she gets older… She’s 8 yrs old now…I’m like you don’t know what I’d do without her…so I have to keep her healthy to keep her around…
Your absolutely correct if it’s good enough for our children and grandchildren it’s definitely good enough for our fur babies…
I’m definitely going to make these for her…
Arf arf !!!
Bella says thank you
Denise says
Hi Peggy, I hope Bella likes them! I know my Izzy does. And tell Bella she’s welcome. 😉
Linda Hubbert says
Denise, STOP TELLING PEOPLE TO USE BABY FOOD IN DOG TREATS ‘TIL YOU DO YOUR RESEARCH, BABY FOOD BY THE MOST PART IS GARBAGE!!!! DO NOT PUT BABY FOOD IN YOUR PETS ANYTHING. USE THE REAL THING AND A FOOD PROCESSER!!!
Denise says
Hi Linda,
I am not an expert by any means and people should use their own judgement. I felt these were ok for my dog but I respect your opinion.
Krystle says
How long do these last in refrigerator?
Denise says
Hi Krystle I left them in there for a few weeks. I’m not sure if that is accurate. I found a few websites that say you can keep treats like this up to 2 months in the refrigerator if it’s in a sealed container or up to 8 months in the freezer. Hope that helps!
Sandy Honer says
I have one small dog and the full recipe makes a lot of cookies, so I cut it in half, 1 C flour & 1 jar Baby food. It still made plenty. One fell off the cookie sheet and my baby scooped it up and ran. 2 mins later she was back for more. I would say its a winner!!
Denise says
Hi Sandy, I’m so happy your pup liked them!
Sue R says
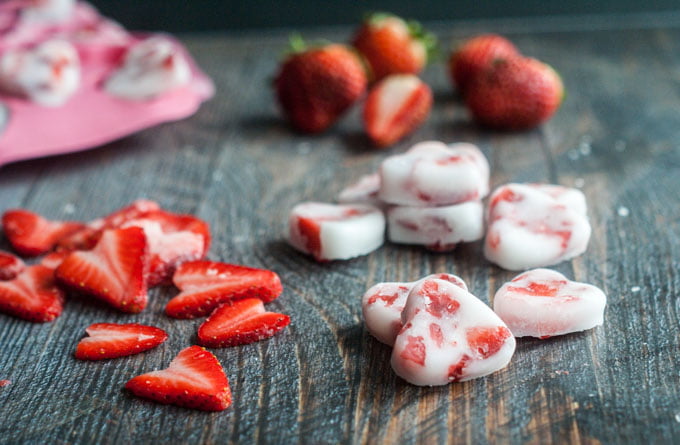
If anyone wants them puffier you could try beating an egg into the mixture. That might help and it’s good for dogs too. I make a super easy treat for mine. I buy the baby food in those squirty pouches and make little drops of them on baking paper lined tray then into the freezer. When set pop them in a container and keep in the freezer. She loves those! Most are fine just as make sure there are none of the fruits or veggies dogs shouldn’t eat first.
Denise says
Great ideas Sue! Thanks for taking the time to comment and share with our readers. I’ll give those pouches drops a try.
Leta Herring says
I love, love, love the idea of using baby foods to make doggie biscuits & treats!!!;) I also enjoy reading each & every comment. Please tell me more tips & great treat recipes! So glad I found you!;) Thanks! 😉
Denise says
So glad you like it. I have a few other dog treat posts on here but mostly I’m a low carb blogger. I just like to make treats for me pup as well. 🙂
LindaB says
I have not made dog biscuits for a long time, but peanut butter, egg shells, bananas, or apples or other foods can be used. I used to grind the egg shells in chicken broth. I think I made enough for my four dogs to last a weeks or so each time.
Denise says
Hi Linda, Great to know. I’m always nervous about the egg shells but I’ve seen that a few times as a good source of calcium. Thanks for taking the time to comment!
Debra says
These are in the oven now! Hope my Coco likes them! Thanks for the recipe! Let me use up my baby food my daughter didn’t want to eat!
Denise says
That’s exactly right. If it’s good for the baby it should be good for our canine babies. I hope Coco likes them, my Izzy did!
Amanda W says
I used two stage 2 containers of squash and two stage 2 containers of peas, then two and a half cups of Gerber baby oatmeal. Mine did not get a pretty and puffy as yours. Since the veggies/fruits are a bit more liquids than the meat, should have I used more oatmeal? It was pretty thick but easy to roll and cut.
Denise says
Hi Amanda,
I think the fruits and vegetables probably have more water in them so I would say to use the more oatmeal.
The jars I used were 4oz for the fruits and veggies and 2.5 oz for the meat. Hope that helps.
Please let me know if you have any other questions.
Jen says
Looking forward to trying with a cookie press. Do you think the consistency would be right for that?
Denise says
Hi Jen,
I have never used a cookie press but I would say that this dough is thick and dense.
You could probably thin it out a bit if that would make it easier to use with the press.
i hope that helps!
Bonnie Stanbery says
Can they be stored in an airtight container for at least a few days without refrigerating?
Denise says
Hi Bonnie,
I have not tried it but if you bake them enough they should be fine.
Please let me know if it works.
Thanks for stopping by!
Denise
Phyllis says
I’d like to try this but y babies have to stay on a strict grain free diet. I realize it’s baby food but oat cereal is still a grain. Could I use a little chickpea flour or maybe potato flakes?
Denise says
Sure, you can use any kind of flour or starch. You just want something to give it bulk. I just the oatmeal because I had it on hand. Good luck!
Didi | for dogs says
What a great idea. I really like the look of how they turned out. They’re nice and puffy instead of flat like other recipes. I’m going to try making these on the weekend.
Denise says
Thanks Didi! I hope you and your dog like them!
Katrina says
Is the baby food prepared as per instructions on the box, or left dry in the recipe?
Katrina says
Sorry the baby cereal **
Denise says
I used the wet baby food from jars and the dry oatmeal. The oatmeal acted as the flour. Hope that helps!
Jessica B. says
I made these for my girl, Mayhem. I used fruit instead of chicken and veggies. I used banana and apples and She loves them! She even liked the “dough”lol.
Denise says
Hi Jessica, That is just great! Thanks for taking the time to share that tip!
Evelyn says
What kind of “jars of chicken” are we talking about? Is this too a type of baby food? Thanks for your help!
Denise says
Hi Evelyn, I’m sorry this wasn’t clear but yes this is a type of baby food. It’s pureed chicken and most baby food brands carry it. Please let me know if you have any other questions.
Mary Owen says
I’d like to try these. My pup doesn’t seem to like store bought anymore. Can you also do these with baby fruit? I might try both. I don’t mind using fine oats either as I have those. what a great idea!
Denise says
I think it should work fine with fruit. Please let me know how it comes out. You might want to make sure the fruit is good for dog’s though. I think cherries for instant are not good but I don’t think they make cherry baby food anyway. Good luck!
Jadine says
What other combos can be used? My dogs are allergic to chicken and beef 🙁
Denise says
Hi Jadine,
You can use what ever you want. I was using the chicken to add some proteins but you can just use veggies if you want. I would check out the selection of baby food and just use a combination that your dog will like. Hope that helps!
Mary says
Hi Denise, I’ve made these several times now with different baby foods and I’ve also added a little cheese and my dog goes nuts for these. They are so easy to make. After pressing them on parchment i just use a pizza cutter to cut them in squares. You need to wipe it off several times but it makes it easier and it’s fast. Thanks again for a great recipe.
Mary
Denise says
Thanks for all the tips Mary!
Marie-Claude says
Can I use an a another type of baby cereal (corn, rice) ?
Denise says
Hi Marie-Claude,
I am not sure. I don’t think dogs would have a problem with corn or rice because they can be found in dog food however I am not an expert on dog nutrition. But they would work as far as the recipe is concerned. Hope that helps!
Karito says
Hello! I think this are great option! But I was wondering if you can use oatmeal quaker or oatmeal flour because here we don’t have that baby cereal or anything similar…..🤔
Thank you!
Denise says
Hi Karito,
Yes I think you can use the flour. I would make sure it’s very fine so that it will mix easier.
I hope you like them!
Sincerely,
Denise
https://mylifecookbook.com
Linda says
Did you use quick oats or the original steel cut? Do you cook the oats first?
Denise says
Hi Linda, I used baby food oats. If you look in the photo I used Gerber oatmeal cereal. It’s very finely ground. I’ll fix the recipe to reflect that. Thanks for stopping by and please let me know if you have any other questions.
maxine says
Have to try this
Denise says
Hi Maxine, I hope you do and I hope you like them. My Izzy loved them and they were so easy.
Grammamar says
Are these Gluten Free
Denise says
It depends what brands you buy. Gerber has a gluten free oatmeal product but their regular oatmeal does include some wheat. Here is an article about gluten free baby food. https://www.verywell.com/gluten-free-baby-food-563032 hope that helps!
Kelley says
I am def gonna try the dog treats with the baby food, I’m so excited. My baby boy Jax is 10 months old. He’s a Pitt bull. He is the best dog ever, he deserves special treats. Love my Jax. Thank you so much.
Denise says
I hope he likes it!